Archive | September 2014

An easier way to decorate your pumpkin for Halloween!

Pumpkin season is here and pumpkin carving season is right around the corner! I don’t know about y’all but pumpkin carving grosses me out! I don’t wanna see what my guts look like and I’m not too thrilled about pumpkin guts either! Not to mention decorating pumpkins doesn’t have to be cutting them all up and ripping out their insides. I’ve got some fun and creative alternatives for you!

acea80892710ad6d2ca4b829e86dbef4

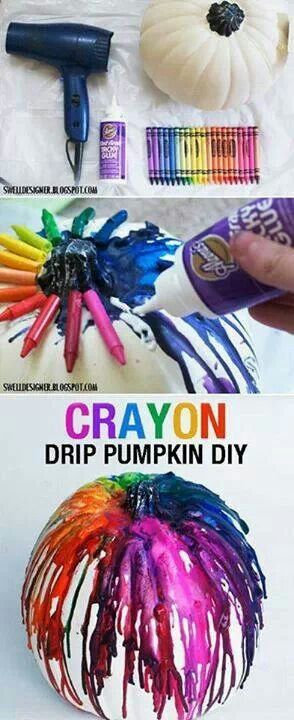
1. The first picture is my favorite pumpkin decorating alternative!

What you’ll need

  • Hairdryer
  • Glue/hot glue gun
  • Crayons
  • Pumpkin

What you do is secure the crayons on the top of the pumpkin with the got glue gun. After that you take the hairdryer and melt the crayons onto your pumpkin getting a colorful crayon melt design on your pumpkin! If you’re feeling super creative you could get cutouts of shapes and secure them to your pumpkin before you melt the crayons and then meth them. After everything has dried and settled you remove the cutout and there’s a clean space from the crayon melt that makes a cool picture!

lightrs'

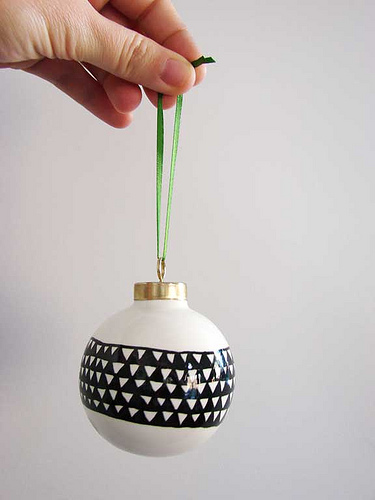
2. Who says Christmas lights are only for Christmas?

For this alternative option all you need is a string of Christmas lights and a pumpkin of your choice! You can do this with the white lights or the colored lights. All you do is wrap the lights around your pumpkins like in the picture above! The ending result is your not so traditional light up pumpkins on the front porch!

pumppuffy

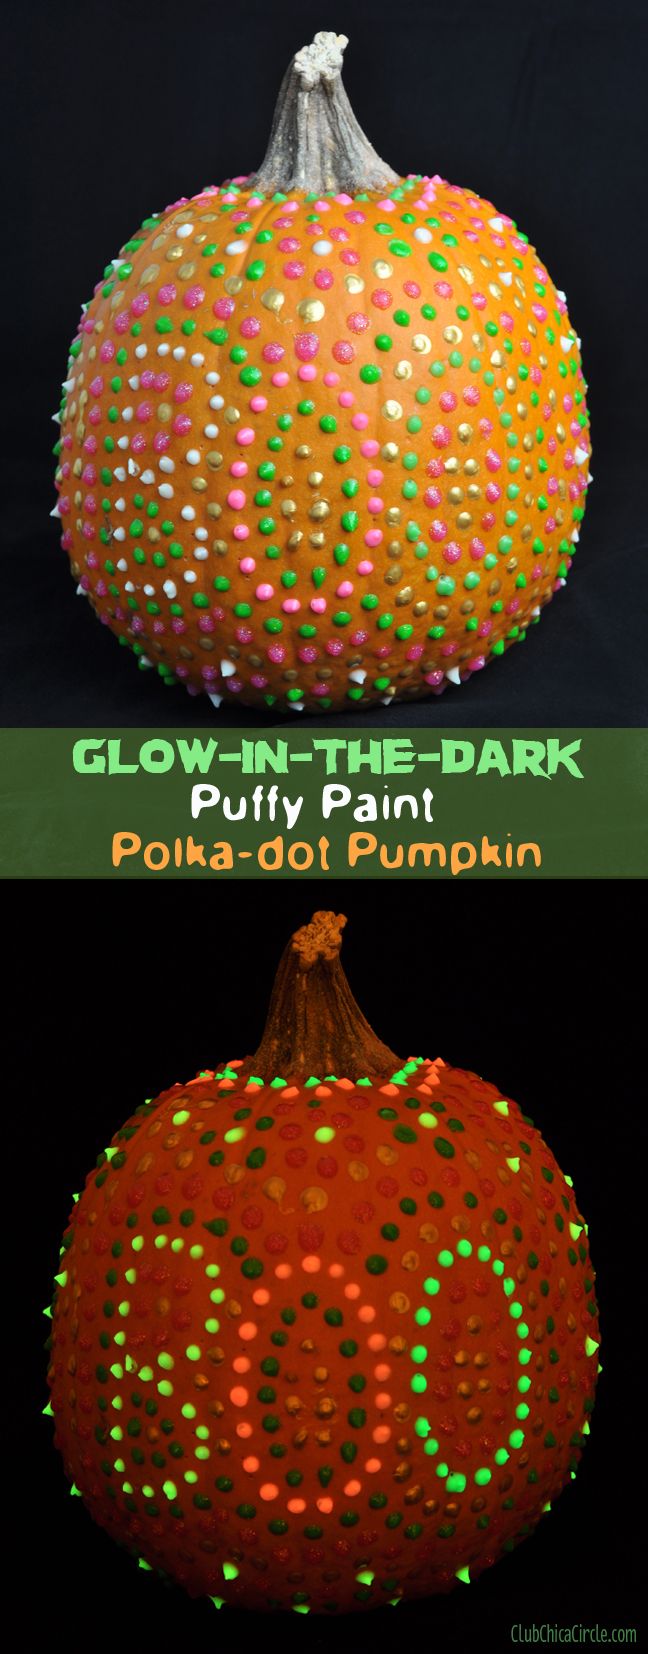
3. The third picture is a really fun idea!

What you’ll need:

  • Pumpkin
  • Glow in the dark puffy paint

This alternative is perfect if you have little kids! They’ll be able to paint their pumpkin with the puffy paint and then see it glow when it dries later on! And what little kid doesn’t love glow in the dark!?

tights

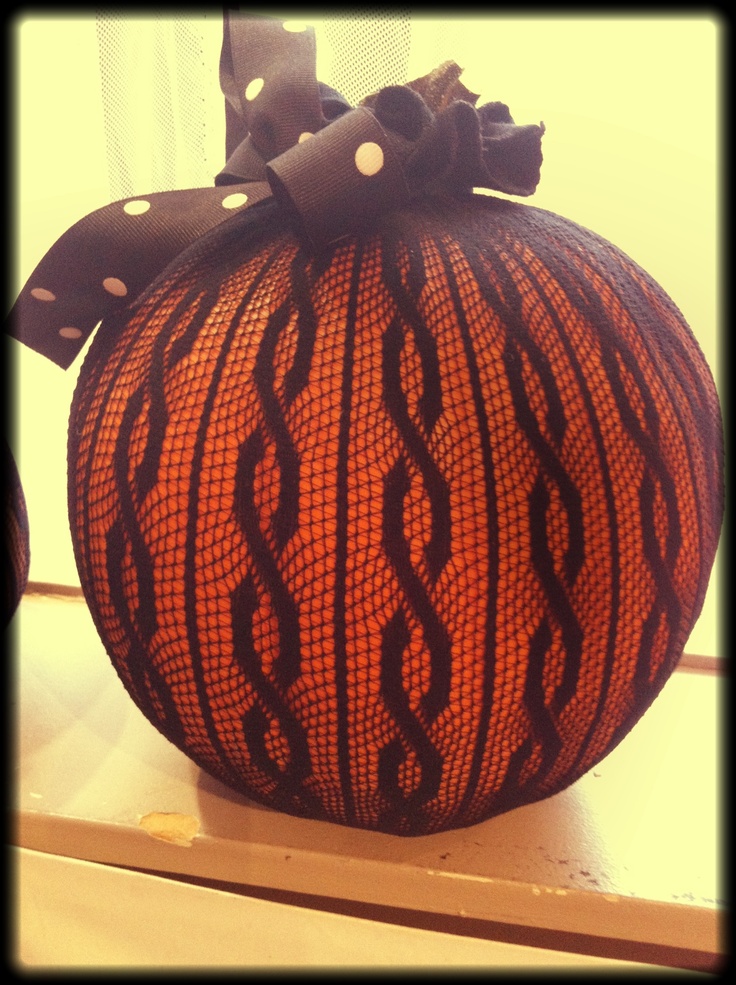
4. This lace pumpkin is the most convenient and easiest alternative!

What you’ll need:

  • Lace tights
  • A bow

All you do is pull the lace tights over the pumpkin very carefully so you don’t rip the tights. After the tights are on you tie them off and cut off the excess. Then just add a bow! This idea gives you the ability to use different colored tights and bows to make your porch super cute!

All these ideas were easy to find on Pinterest in the “pumpkin decorating” section! I just picked my favorites from the tons of selections that I saw! I’m excited to try the crayon melt but I think I’ll add either glow in the dark puffy paint or just regular glow in the dark paint to it! With these decorating ideas it’s easy to add and alter them!

I hope y’all have some pumpkin fun!

This entry was posted on September 28, 2014. 2 Comments

Plant crafts

This craft was a lot of fun! I love plants and it dressed my dorm room window up really nice!

What you will need:

  • A plant that can survive on bark and has strong roots
  • Bark
  • Moss
  • Fishing line
  • A metal hook
  • Pliers
  • Scissors

I actually did this at the greenhouse at my school! I do not have pictures of the process but it is not very complicated!

We used Orchids the greenhouse had been growing because they actually grow on trees in the rainforest so they were a perfect plant for this!

  1. First we took the orchids out of their pots and disrupted their roots and spread them out so they were not tangled with each other. Be gentle so you don’t break your plants roots!
  2. Once we disrupted the roots we set the plant aside for a bit. We picked out bark that was the correct size for the plant.
  3. After you pick out your bark get the moss! Spread the moss out on the bark! You’ll be placing your plant on top of the moss.
  4. Put your plant on top of the moss. You want to make sure the roots of the plant are coming out all around and that they aren’t just sitting under the plant on the bark all bundled up.
  5. Once you have gotten the roots all situated take the fishing line and use it to secure the plant and moss to the bark. Make sure you tie it tightly! Cut the extra line off with your scissors
  6. Now that your plant is secure you’re gonna want to hang it! So take the pliers and the metal hook and you should be able to push the hook through the bark.

orchid unnamed

The moss is very important because it traps water and keeps your plant hydrated throughout the day after its morning shower! Place your plant in a nice sunny spot! Eventually you will be able to take the fishing line off your plant because it’s roots will start growing and gripping onto the bark!

This project is a little messy so you’ll definitely want to do it outside! Don’t worry though, when you are finished the ending product is not messy and it looks great in a window!

Hope y’all enjoyed this post! I’d love to see your plants mounted on bark!

This entry was posted on September 20, 2014. 1 Comment

Design your own coaster!

Hey everyone! So this Do It Yourself is very easy. It’s a great little thing to do with kids or just for fun.

What you need:

  • Ceramic coaster
  • Paint pens or permanent markers

So you just need a blank coaster! Any shape, whatever you can find as long as its able to be drawn on! A glossy surface is a bit difficult to work with because the paint from the pens doesn’t soak in as well but it’s definitely doable. You can find blank coasters in any craft store and some stores like Walmart for between $3.00-$5.00! I normally find what I need at Michael’s Arts and Craft Store!

image


You’ll need some utensils to create your master piece! I used paint pens by Sharpie like this! You can use any brand of paint pens, I just had these on hand!

sharpies


Now just get decorating! The one I made ended up looking like this! Don’t judge too harshly, my drawing abilities are limited(:

DZ back


I decorated my coaster with my sorority mascot, a turtle, and our letters! I added some polka dots for color and fun!

What I really like about this craft is that it’s a lot of fun and it’s personal! That makes it great for gifts! Kids are able to draw pictures on the coaster and grandma and grandpa will love them! I even took a writing pen and was able to write on the back of the coaster. The only thing you have to make sure is LET THE PAINT DRY! I accidentally messed up a bit about that, it doesn’t take long but smearing isn’t fun so give it a bit of time!

I hope y’all enjoyed this!


This entry was posted on September 20, 2014. 2 Comments

Let’s get crafty!

Hello! This page gives 20 fantastic craft ideas that are very affordable! “When’s the last time you had a craft night with your friends? It’s been a while for us, and this list has left us feeling super inspired and excited to have one. So gather up your girlfriends, get some refreshments, and make something fun!”

The craft ideas offered on this page are all doable with about $10. The crafts range from decorating curtains with fabric paint to making your own refrigerator magnets! They’re perfect for doing some fun activities cheap by yourself, with some friends, or kids!

Here’s the link to the website!

Hello(:

I’m Jessica. My posts will be focused on Do It Yourself activities for all ages. On a rainy day or a day when you’re just not sure what to do come check out my posts and see what fun things I’ve found for you to do! I will be posting DIY activities that I have done and DIY activities that are on my to-do list! I’ve always loved hand-on activities and I’m excited to be sharing them!

5217553523_81154860cf

Photo Credit: hownowdesign via Compfight cc

This entry was posted on September 9, 2014. 1 Comment